How to build a mechanical keyboard

The market for diy mechanical keyboards is expanding for a variety of reasons, including as the rise of gaming culture, the gaming industry, and the need for customizable peripherals. Gamers love mechanical keyboards for their durability, speed, and tactile feedback. Furthermore, the global e-sports viewership increased from 398 million in 2019 to 474 million in 2021, propelling the mechanical keyboard market higher. Mechanical keyboards cost more than regular keyboards, but they may last for many years if properly maintained. Compared to membrane keyboards, which are devoid of haptic feedback and adjustable features, they provide greater customization choices, better gaming performance, and a more pleasurable typing experience. When it comes to gaming and business, buying mechanical keyboards alone can save a lot of money for those looking for more comfort and control. Globally, the mechanical keyboard market is anticipated to grow significantly between 2023 and 2031. The market is predicted to surpass the anticipated horizon in 2022 due to its steady development rate and the major players' increasing adoption of tactics.Building your own diy mechanical keyboard might be an excellent way to have a high-quality mechanical keyboard for less money than purchasing a pre-built one.
Part 1: Understanding Mechanical Keyboards
The DIY mechanical keyboard's feel, longevity, and functionality are determined by five main components:
Case: Polycarbonate circuit board with machined metal construction An alternative term for it is the printed circuit board. The mounting plate, sometimes called the switchplate, is a perforated sheet composed of carbon fiber, metal, plastic, or FR4. Flips: Each switch is composed of five parts: the spring, the contact blade, the top and lower housing portions, and the stem. Keycaps:
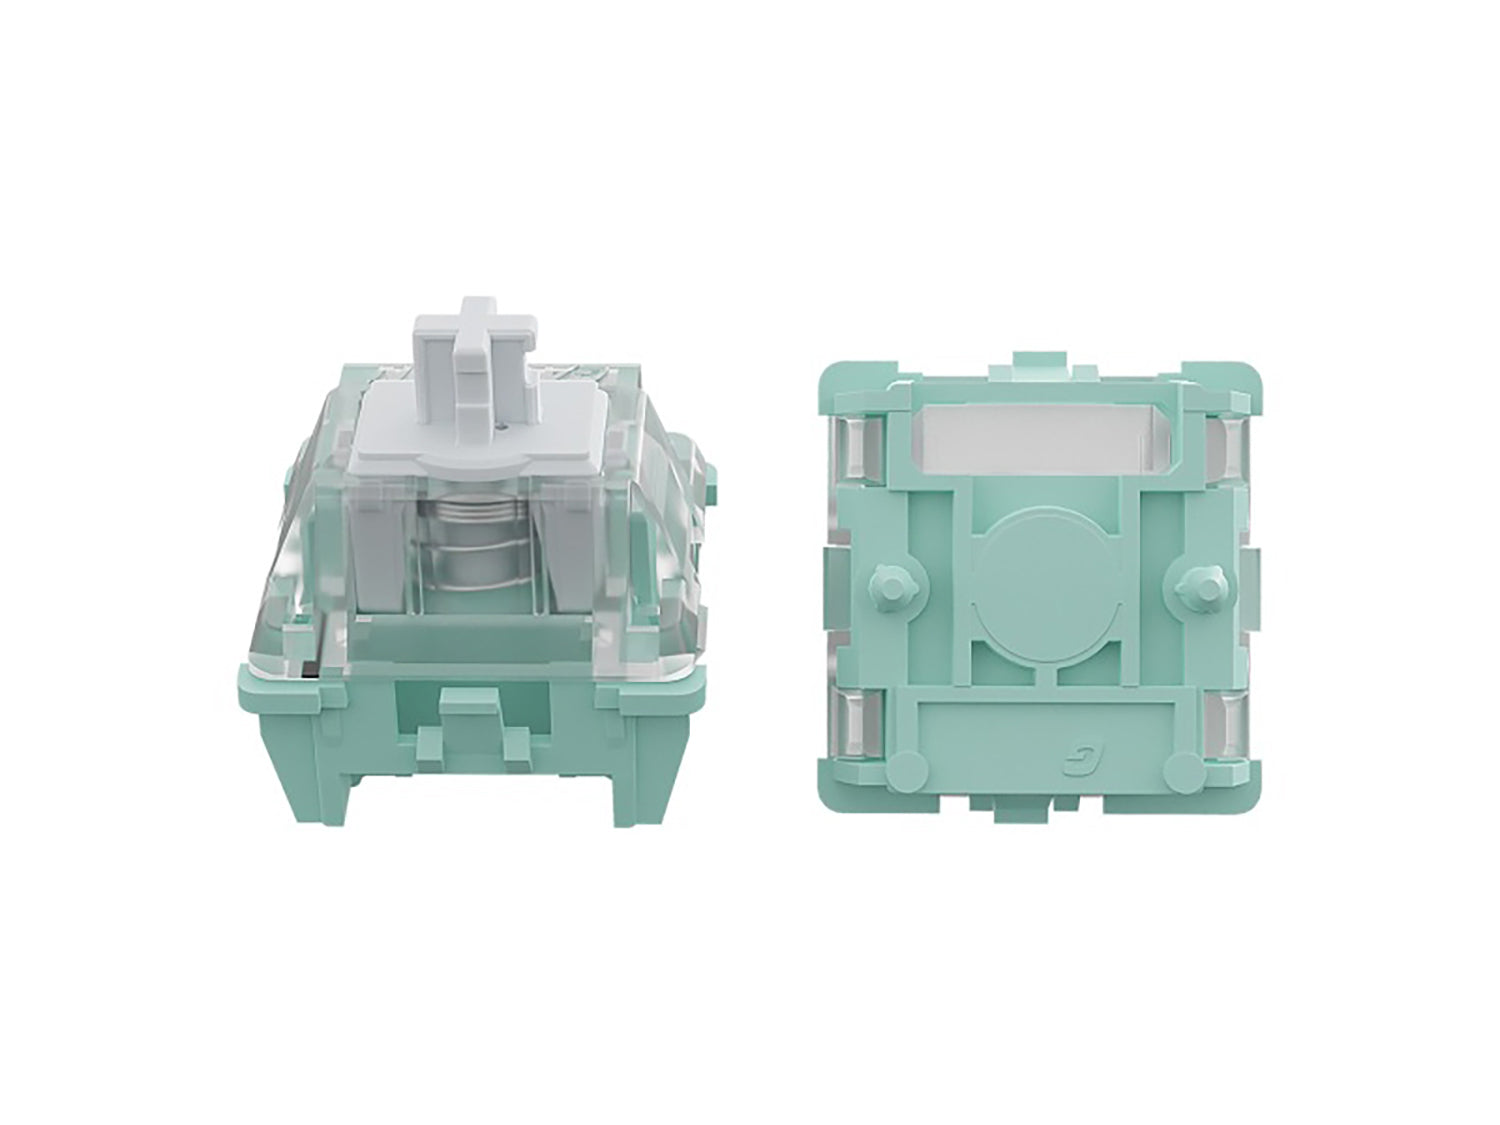
The top of the switch, or upper housing, supports each keycap. Mechanical keyboards include switches beneath each key, in contrast to the majority of ordinary keyboards, which have rubber membranes. Within the switch, the stem travels up and down and is connected to a spring that allows it to return to its starting position. The keycap completes the circuit and registers the keypress when it depresses, making contact with the membrane underneath.
Types of Mechanical Keyboard Switches
Linear switches: The ideal option for gaming are linear switches. There is no tactile feedback or pushback while using these switches, which work smoothly.
Tactile switches: You may use these for gaming as well as typing.
Clicky switches: They're excellent for texting. An electronic arrangement known as a printed circuit board (PCB) connects components electrically by use of copper cables. PCBs offer mechanical support for electrical components and are utilized in applications like computers where precise conductive lines are required.
Stabilizers, sometimes referred to as "stabs," are keyboard components that assist bind the keycap to the switch and stop bigger keys from swaying when pushed. To keep the keycap stable when you hit the keyboard switch, they are positioned near to it. See in full size. On a PCB, stabilizers are installed. Because of their durability, custom keyboards with brass and aluminum casings are often more costly than those with plastic cases. However, because CNC-ing plastic is so difficult, even modest runs of the material may get pricey. Stabilizers for keyboards guarantee that keys stay in place as you type.
Based on how they feel, mechanical keyboard switches are divided into three categories: clicky, tactile, and linear. Every kind is intended for a distinct user and feels differently when pushed.
Linear: When an action is sent, these switches are silent, seamless, and provide no feedback. Gamers favor these switches because they are the simplest and make it easier to convey many inputs rapidly. But because they are easy to accidentally press, they may not be the best for typing.
Tactile: These switches add sound and resistance by having a bump that appears halfway through pressing any key. The bump indicates that you actually pushed the key, or that the key input got through. Textbook authors and programmers are among the people who use tactile switch keyboards the most.
Clicky: These switches produce an audible click sound along with tactile feedback.
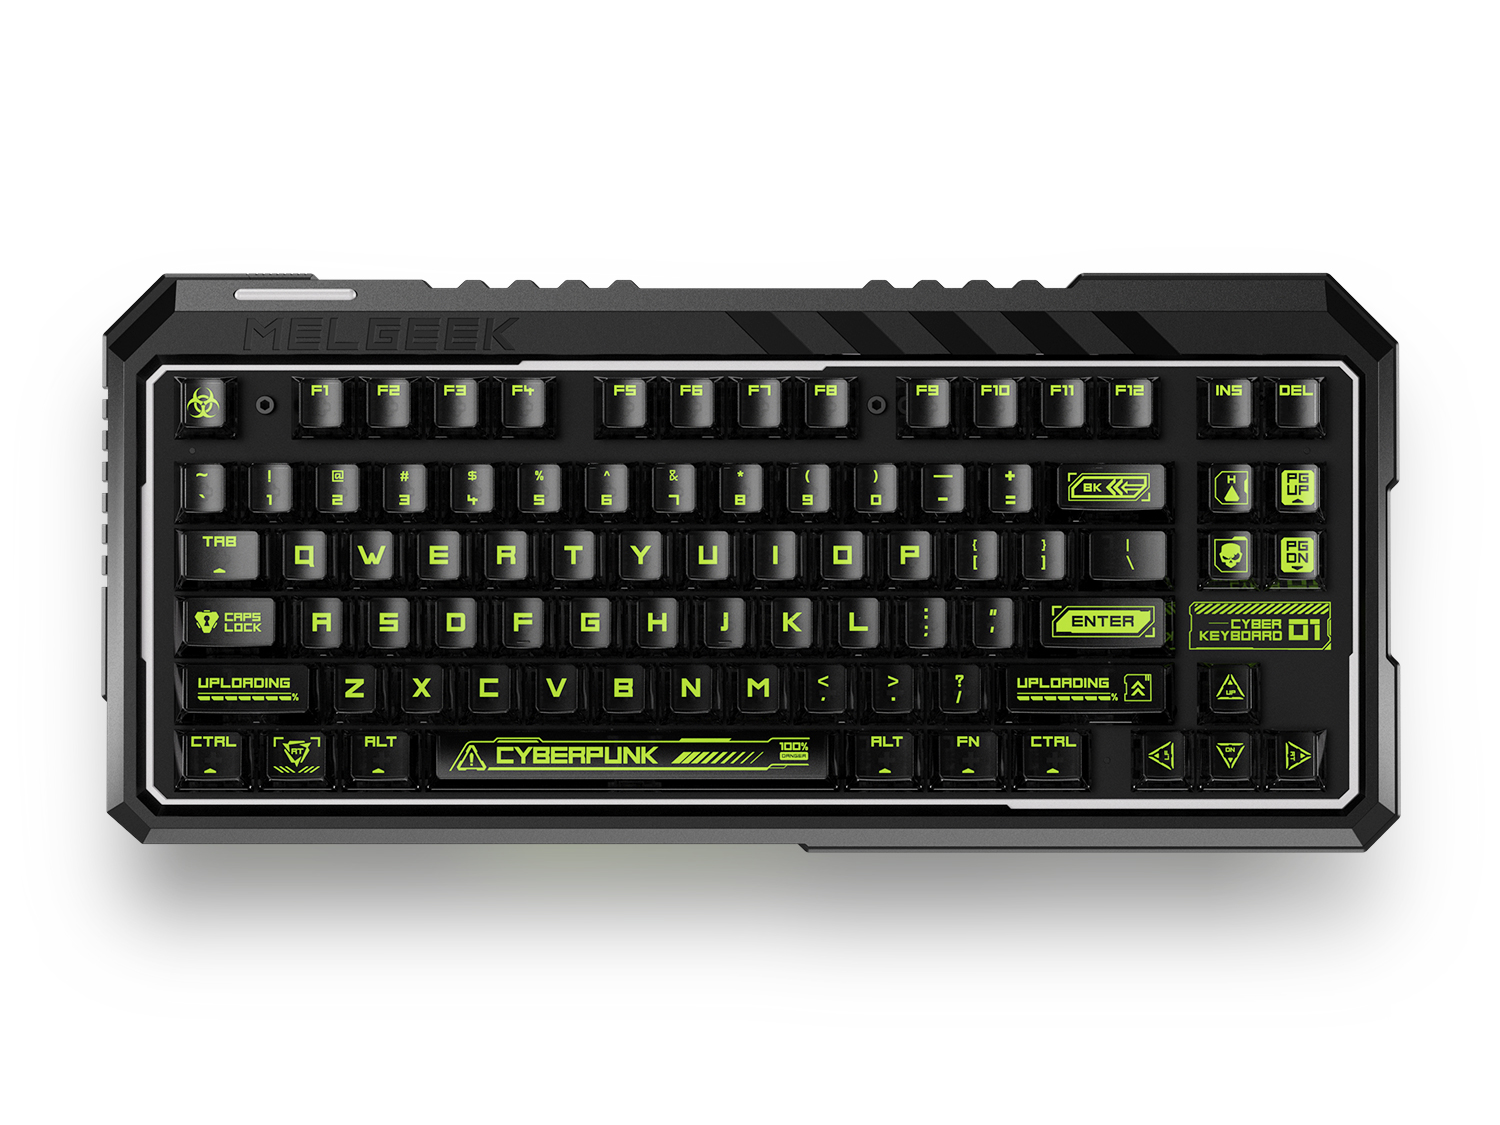
There are several form factors and layouts available for mechanical keyboards. Form factor describes the physical dimensions, shape, and key count of the keyboard. Typical form factors consist of:
60%: A small key layout with around 61 keys
Full-size: Has numpad, arrow keys, and the standard modifiers. TKL (Ten-Key Less): A reduced form factor
75 percent: Likewise referred to as Alice.
With ANSI for America, ISO for Europe, and JIS for Japan, there are regional variations in layout. For instance, while ANSI and ISO are comparable, the Enter and Shift keys are not. For the Enter and right Shift keys, JIS has an identical layout to ISO, but its bottom row is different.
Part 2: Planning Your Build

Your budget for a diy mechanical keyboard should preferably be in the neighborhood of $100 to at least $50. The greatest gaming keyboards may run you more than $100, sometimes even $200. Nonetheless, a competitive keyboard can still be purchased for less than $120, and it offers greater customization options than an off-the-shelf keyboard. The ideal keyboard size is determined by your own requirements and tastes. Determine if you want lighter or heavier switches according on your typing speed and comfort level. Level of noise: Mechanical keyboards with clicky switches, like the Cherry MX Blue, produce a distinct sound when a key is pressed. However, these five main components are included in almost all boards: a mounting plate, switches, keycaps, a circuit board (with any associated electronics), and a case. Every one of them has a big impact on the overall feel, performance, and longevity of a board. The switch that suits you the best will vary depending on your typing style and preferences. The following are some points to consider: Feedback in tactile terms: Brown or Blue Cherry Mechanical X-point (MX) switches are wonderful options if you like a noticeable bump when you press a key. Summary
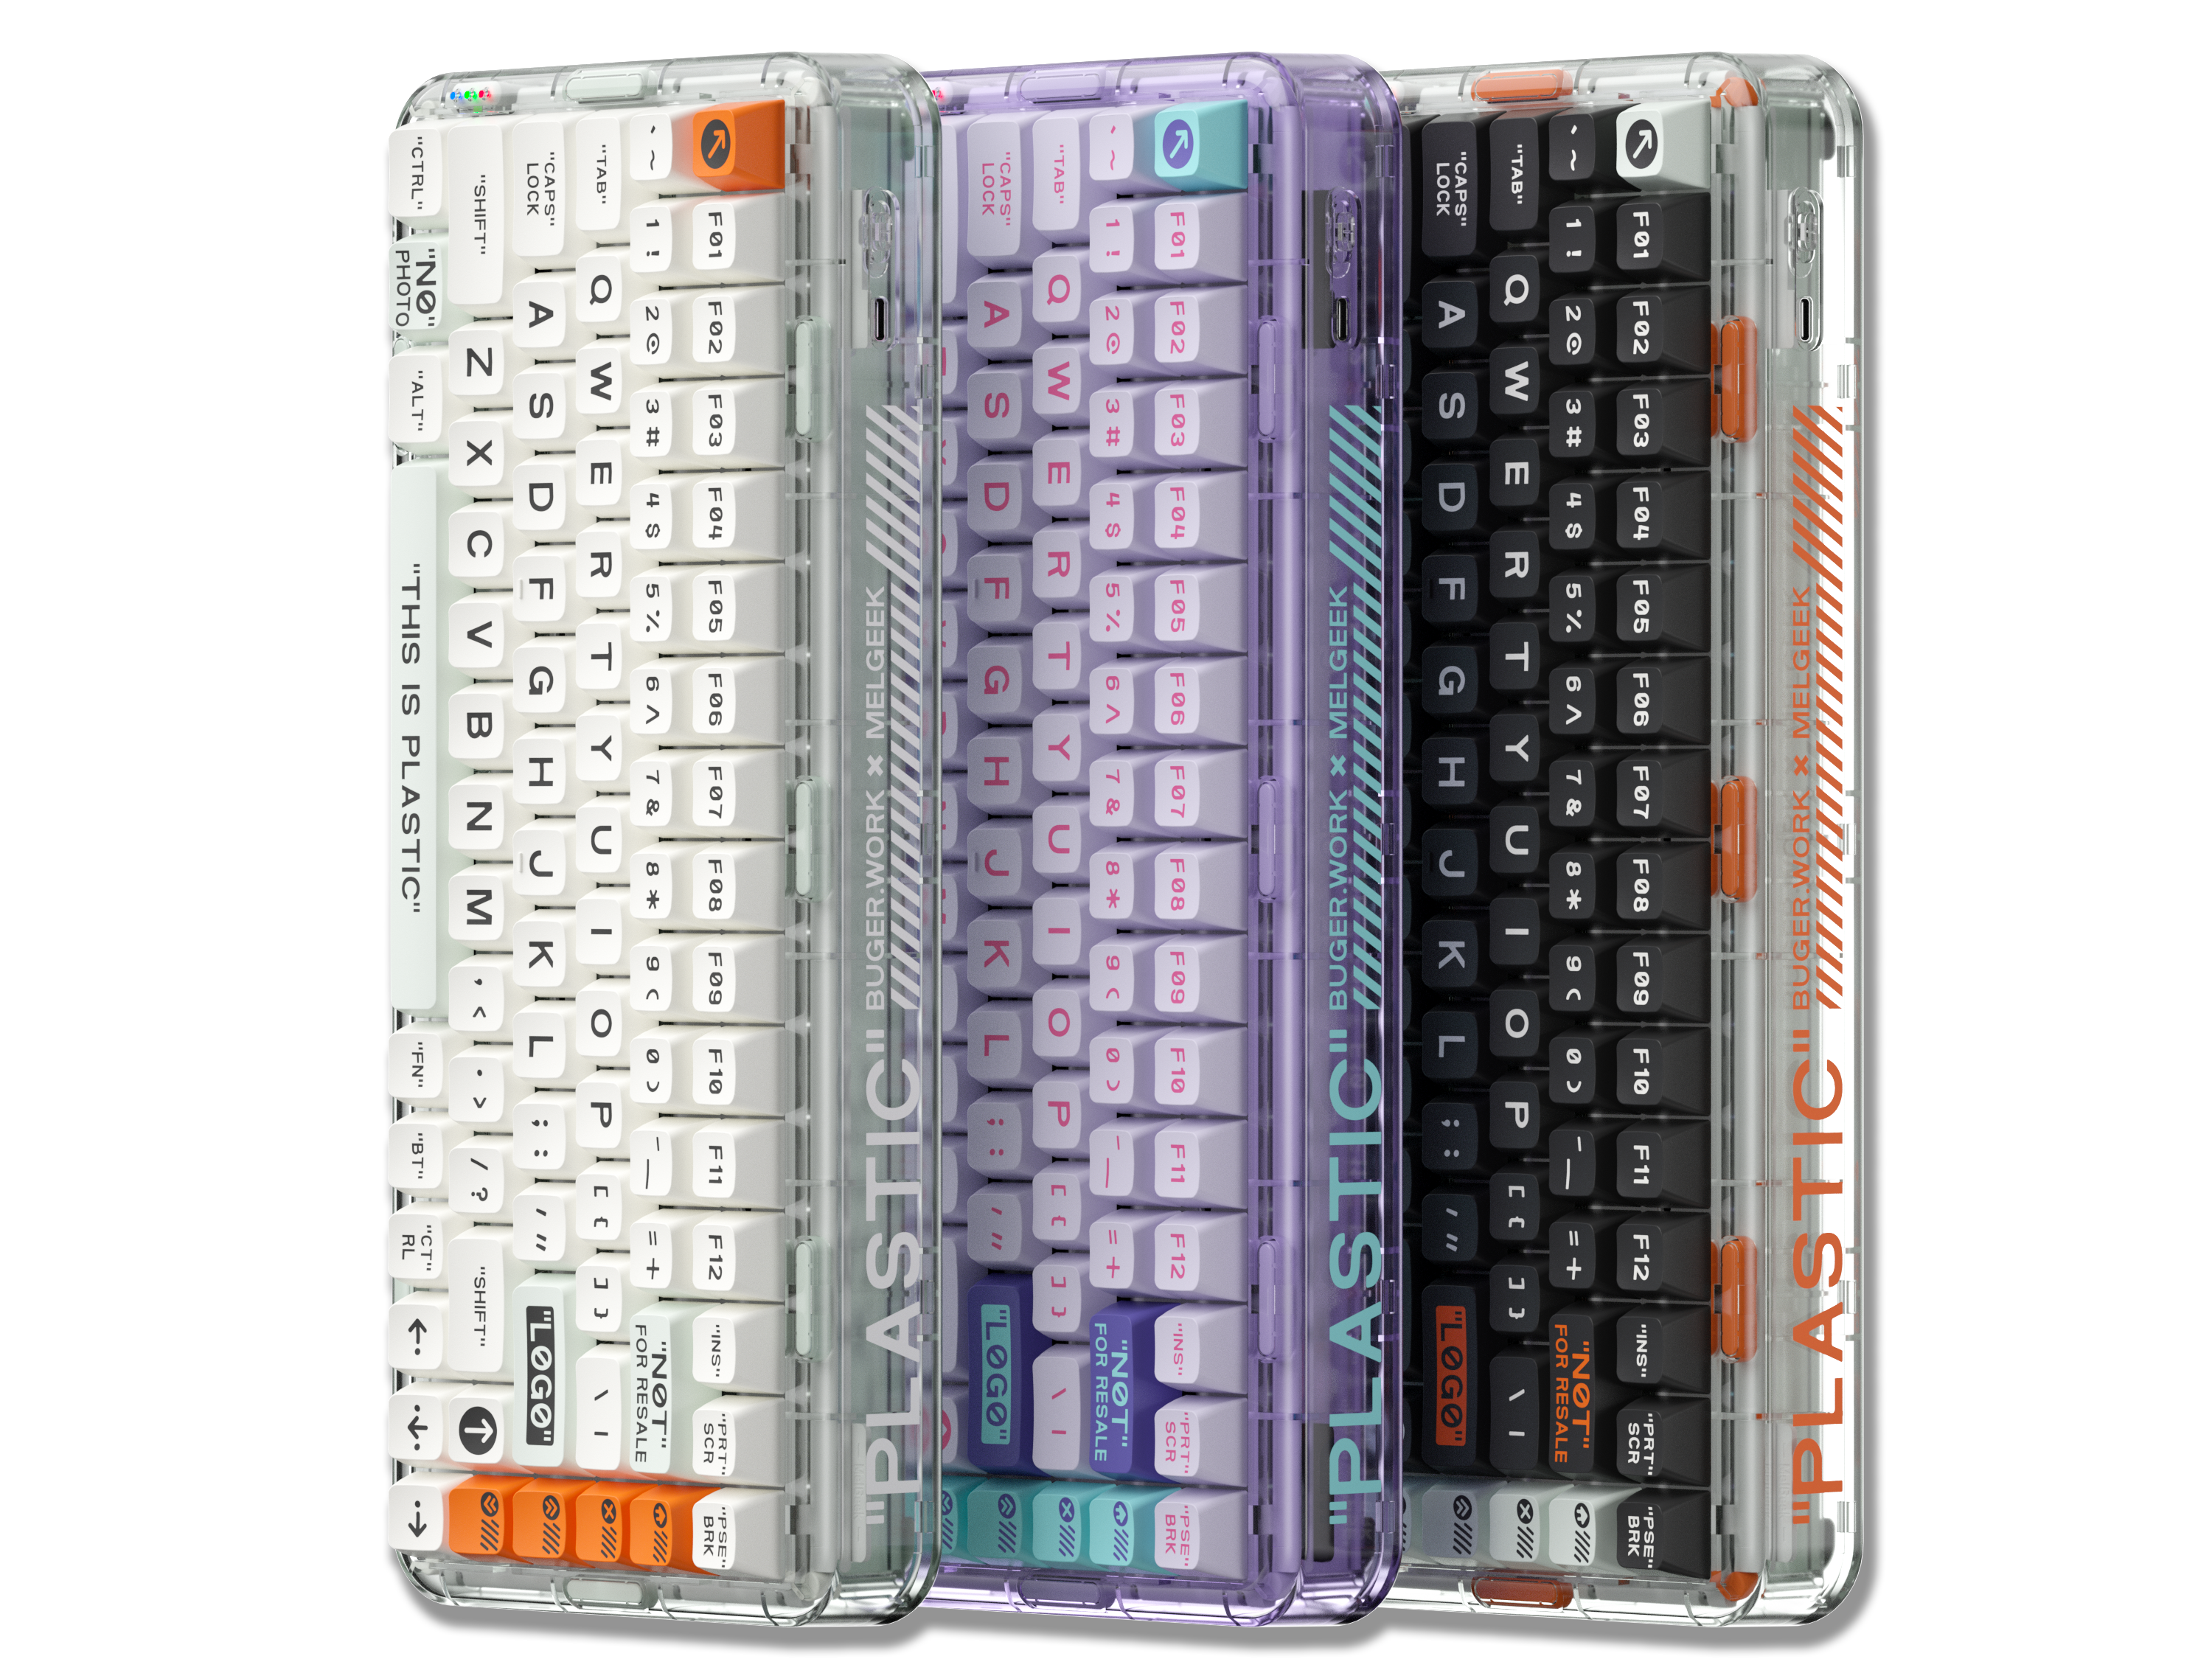
The shape and height of the keycaps. Because cherry profile keycaps are shorter and have a more pronounced top curve, they might enhance typing comfort. Aesthetics If the hues and designs of the keycaps appeal to you and they go well with the way your keyboard looks.
Backlighting
Doubleshot keycaps allow light to travel through the legends, making them easier to read.
Harmony Whether the keycap set is compatible with the switch type and layout on your keyboard. Most keycaps are compatible with cross-shaped stem forms, which are the most common type.
Get in touch with the manufacturer of your case to see if they have any custom-built plates available before beginning your hunt for the finest mechanical keyboard plate.
Keyboard equilibrium is maintained by stabilizers, which enhances typing and gaming.
Part 3: The Build Process
Here we will discuss how to build a mechanical keyboard. Switches, the most crucial component of the keyboard, regulate keystrokes and provide a bouncing sound. a little gadget that can hold up to three keys and has wires that can bend out to fit onto keycaps. Desoldering switches is much simpler with lead solder. Heat-forming tin, which creates the junctions between the PCB and components, can be facilitated by using a soldering iron with a temperature control. For precise repairs, a soldering iron on a stand might be useful. A device to remove switches from the keyboard securely. Using a robust material, like titanium, is advised to keep the puller from bending over time. A switch opening tool that won't harm the switch or any other parts. When putting the keys back, a pair of tweezers may be helpful for grasping small parts of the switch. A variety of bit types can be used to open cases, install keyboards, and switch devices without the need for a switch opener.
The following procedures will let you put screw-in stabilizers on a PCB:
Open the stabilizer components.
Place the stems within the enclosure.
Place the wire in the hole at the bottom.
Put the wire in place with a snap.
Locate the holes in the PCB.
Place the feet through the PCB's wide holes.
In the smaller holes, firmly plant the rear of the feet. Turn the PCB over, then tighten the screws.
Continue on the opposite side of the stabilizer. The following are some ways that hot-swappable and soldered PCBs differ:
Adaptability
Whereas soldered PCBs are less flexible and offer fewer customization choices, hot-swappable
PCBs offer greater flexibility and personalization.
Upkeep
While soldered PCBs are more durable and energy-efficient, hot-swappable PCBs are simpler to maintain.
Price
Hot-swappable PCBs are less expensive than soldered PCBs.
Safety
Hot-swappable PCBs could be less sturdy and secure than soldered PCBs, which offer a more consistent and dependable connection.
Setting up
Solder PCBs are preferable for individuals who want a more permanent installation, while hot-swappable PCBs are appropriate for people who wish to change their keyboard easily.
The following procedures can be used to install mechanical keyboard switches:
Take the keyboard out of the plug.
Take off the keycap.
With a switch puller, carefully remove the switch.
Align the switch's pins with the socket's holes.
Press the switch into the socket gently. Put the keycap back on. Check the keys by connecting the keyboard to your PC. The following procedures can be used to install keycaps on a mechanical keyboard: Hold the keycap firmly with two fingers. Align the post with the opening on the bottom of the keycap. Firmly press down on the keycap. The keycap should pop back up firmly once you release it. As necessary, repeat the process with each key.
Part 4: Customization and Modifications

Stabilizer rattling may be reduced and switches and stabilizers made smoother and quieter by lubricating them. Lubricant can also lessen friction between the switch housing and stem, making typing more comfortable and quieter. The following elements can be taken into account while deciding between RGB and LED lighting:
Energy efficiency: Compared to RGBs, LEDs convert more input energy into light.
Color choices: RGB systems provide greater adaptability and personalization.
Atmosphere: Think about the ambiance you wish to establish. LEDs work well for simple lighting applications.
Here's some further details on RGB and LED lighting:
Controllers for RGB
Red, green, and blue (RGB) LEDs are used in these devices to produce a variety of colors and effects.
RGB illumination
This creates backlighting in an area using LED strips. A wide range of colors, from neutral tones to vibrant hues, are available for selection.
Wall washers with RGB LEDs
These provide a range of illumination tints by combining the colors red, green, and blue.
Tape light in RGB+W
Compared to regular RGB LED strips, this is a more adaptable choice. While it costs a little more than RGB tape lights, the 24 Volt RGB+W tape light is more suitable for a wider range of setups.
Using rubber O-rings is a rather simple method of reducing your keyboard's overall decibel level. They immediately contribute to a decrease in noise and are quite simple to install. Under your keycaps, the O-rings are fitted around the switch stems. Customized buttons with a different look and feel from regular keyboard keys are called artisan keycaps. Because they are available in an array of hues and patterns, gamers and keyboard fans may customize their keyboards. For convenience, artisan keycaps can be created from scratch or layered over pre-existing keycaps. You could construct almost anything as long as it still fits over the cross-shaped stem of a typical key switch and as long as its form doesn't interfere with the use of nearby keys.
Part 5: Maintenance and Upkeep
This is how a diy mechanical keyboard should be cleaned:
Unplug the keyboard. If it's connected.
Take off the keycaps: Utilize a keycap puller, resembling wire tongs, to apply pressure and retract each keycap.
Dust removal: To remove dust from the keys, use an electric duster or compressed air.
Make sure the keycaps are clean. After soaking them in warm water with soap, pat them dry.
Clear the keyboard: Wipe off the surface carefully, especially in between the keys, with a soft, lint-free cloth or sponge that has been soaked with water. Make the surface clean: To assist eliminate germs, use an isopropyl alcohol swab and a microfiber cloth.
Replace the keycaps: Check the keyboard on your device.
The steps of replace worn-out parts are as follows:
Take the equipment apart. Take off the worn component.
Put the new component in place. Adjust and align the component. Software fixes known as firmware upgrades enhance a device's functioning without necessitating physical modifications. They can help a gadget compete with newer models, enhance security, and correct issues. Most electronic equipment, including network gear and household appliances, require firmware.
Conclusion
Personalized diy mechanical keyboards are not too complicated items. A PCB (printed circuit board), a few tiny screws, tiny rubber and/or foam components, a casing composed of machined metal, polycarbonate, or laser-cut plastic, and a 1.5 mm sheet of plastic, metal, carbon fiber, or FR4 perforated with holes make up the switchplate. In comparison to membrane, scissor, or butterfly keyboards, mechanical keyboards are more resilient, easier to repair, and feature discrete switches under each key. There are three primary types of mechanical switches: clicky, tactile, and linear. Conventional keyboards cannot match the accuracy, ergonomics, and customisation offered by mechanical keyboards. They are ideal for programmers, gamers, and anybody else who spends a lot of time typing since they are long-lasting and reduce typing fatigue.
Mechanical switches that offer feedback are used to activate each keystroke, making each press both audible and physically unique. Custom mechanical keyboards increase the comfort and joy of typing by incorporating these qualities into the design. Mechanical keyboards are superior in terms of tactile feedback, customisation possibilities, and gaming performance, even though they are usually more expensive. Membrane keyboards are more pleasant to type on, but they don't have haptic feedback or programmable features. Every plastic keycap on a mechanical keyboard conceals an actual up/down switch. It may be activated by partially depressing the key as well as fully pressing it. You can type more quickly and easily on these keyboards as a consequence.
FAQs
- What is the best mechanical switch for beginners?
For novices, tactile, or "brown," switches are advised since they provide a somewhat noisy but comparable sensation to a rubber dome keyboard. Beginners should consider Cherry MX switches, while Cherry MX Brown is regarded as a decent "middle-ground" switch. It travels silently, has a tactile bump, and a modest actuation force.
- Can I build a mechanical keyboard without soldering?
Yes, if you utilize a hot-swappable PCB (Printed Circuit Board), you may assemble a mechanical keyboard without soldering. Individual mechanical switches may be changed or replaced thanks to this design without requiring soldering. The switches are simply swappable out after being pressed onto the PCB.
- How much does it cost to build a custom mechanical keyboard?
Depending on the degree of customisation, a bespoke mechanical keyboard may be built for as little as $200 to as much as $600. High-end keyboards can cost over $300, while entry-level models may start at about $100.
- Where can I find inspiration for my mechanical keyboard build?
You may design unique keycaps based on your preferred TV series, video games, comic books, or movie characters. For instance, the famous characters, spacecraft, and weaponry from the Star Wars universe served as inspiration for the Star Wars keycap set.
- How often should I clean my mechanical keyboard?
Your mechanical keyboard has to be cleaned once a week, or more frequently if you can. Using a moist microfiber towel to wipe the keyboard and a separate dry cloth to dry it off is a quick cleaning method. A disinfecting wipe is an additional option.


